How to Fix Christmas Lights Half Out
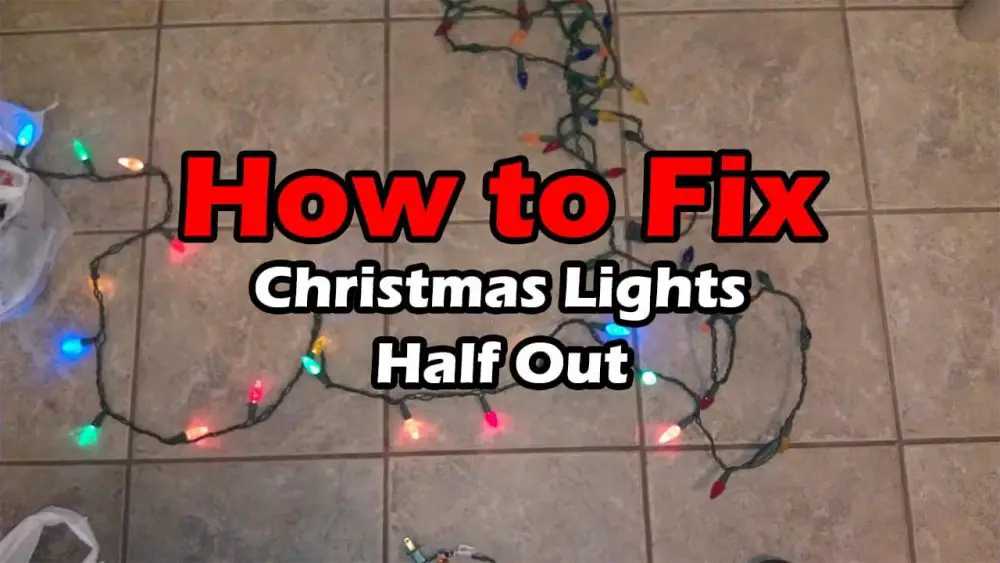
Suppose you notice that half of the string is out, so the question is, how do you go about fixing that half, which is not lit so that you have an entire string. Therefore, you do not have to toss the whole thing out. So today’s article is just going to tell you a couple of pointers, a couple of different ways that you can go about doing this. Let me tell you what we have got here–my Christmas tree, and this is an artificial tree, but a couple of years back, we did not know how to replace and fix the bulbs and identify where the bad bulb was. So that we took off all the wires, all the Christmas lights and so this is just the artificial tree and every year we just string it up with the lights. We are manually putting on our string of lights, so we came across a string.
Table of Contents
How to troubleshooting the problem
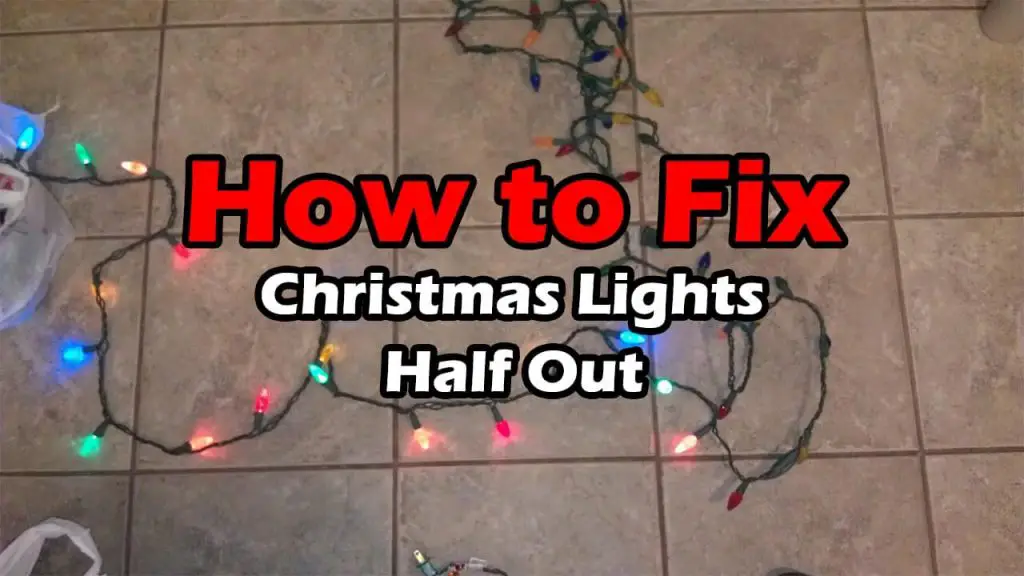
As you can see, the string got lights on it, but the first half is all out good. So we are going to fix this, and the very first bulb we tried to fix was the right one, so the first thing we want to tell you which could be your issue is the fuse is good, so here is a different string, and if you look here carefully, you can focus here. So right here, there is this little trap door where the fuses are good. So if you see that is where it comes out, use a tiny screwdriver, a little flat head, just a tiny tip, and you just got a kind of push it out there’s a minor groove you just push it out,
got this little door here, and that exposes the fuses okay. So you can see that this little cylinder fuses you can replace out. So that could be a part of the problem, you know, and you can get these fuse replacements probably in the same aisle that you are buying your Christmas lights.
Fuse Replacement
We will now do a fuse replacement, and we need a tester here. It says a 3 amp 125-volt fuse, so you want to check your instructions that come with the lights; hopefully, you still have them, but if not, that is the typical strength you know for Christmas lights. And then you just replace that, so that is one option. We are not going to do that because we do not need to in this instance.
Changing a Bad Bulb
The other option is you get a different string of lights that you know works right. So let me light this one up, so this one works, and the reason we are not using this one is that this one is like a lighter colour. It doesn’t match the same brightness of colour that others are. So, therefore, what we are going to do, we take out the first bulb here. The bulb is all right, and on each side is the wire, the little copper wire that is folded over. So we have got this first half of the string. That is outright, and then the lights start. Therefore, typically when you have a section of lights like a section of the string that’s out, what you want to do is identify the problem. It is probably going to be one bulb that is setting off this whole section. So, in this case, we want to start the very first bulb.
Therefore we will take that out. You can use pliers, little needle-nose pliers, or just use a little screwdriver and get the bulb out, and this is the replacement bulb we got from a different string. It is always good to keep. If you have a bad string, just keep that string use it as replacement bulbs. Because basically, this is just going to keep the flow of electricity going through the entirety of the string. It is not that we like this colour if it is a different colour it does not matter we just want to keep it where it keeps the electricity going.
How to check the inlet wiring
If you look inside the socket, you will see two sides of the metal, and that’s what you want to line up with the copper wires. So it goes along, and you see immediately this continues electricity. So this entire string now is lit up, and we want to show you something if you don’t have it centred right. If you have it off where it is not aligned, look at that it does not light up, so here, that was the problem, which was a replacement bulb. And you can tell because the whole thing is not the same coloured, it is just the tip this was a replacement bulb, it is not reading correctly, so that is all it was for this one bullet here, it’s acting like it is a flashing light we have never seen that before.
If this is just a faulty bulb or designed to have a flashing sequence, so the bulb is defective, we will not use that one. We will use the one that we use for our replacement string and make it nice and tight. So there you got this whole string. The entire string is now lit up.
Frequently Asked Questions:
If one half of the string of Christmas light is working and the other half is not working, it means the bulb in the centre is fuse or loose. To fix this problem, just change the bulb.
The string of lights has two tiny fuses, one on each side of the A/C line; these are inside the A/C plug. These fuses are intended to burn or melt before the string’s copper wires could cause fire from overload.
Conclusion
You may have to check the fuse and replace the fuse, but the main thing you want to do is identify the bulb that discontinues the flow of electricity. And you may have to play around with it, maybe that first bulb or the bulb before it. So get a bulb that you know works. Put it intakes its output in the next one, that type of thing, and that’s all. The light bulb where you like to buy, they have checkers where you can identify the flow of electricity, so we do not have one, but this is a simple way that you can fix a string of lights and not have to toss it out at least gets you one more year’s worth of Christmas lights.
