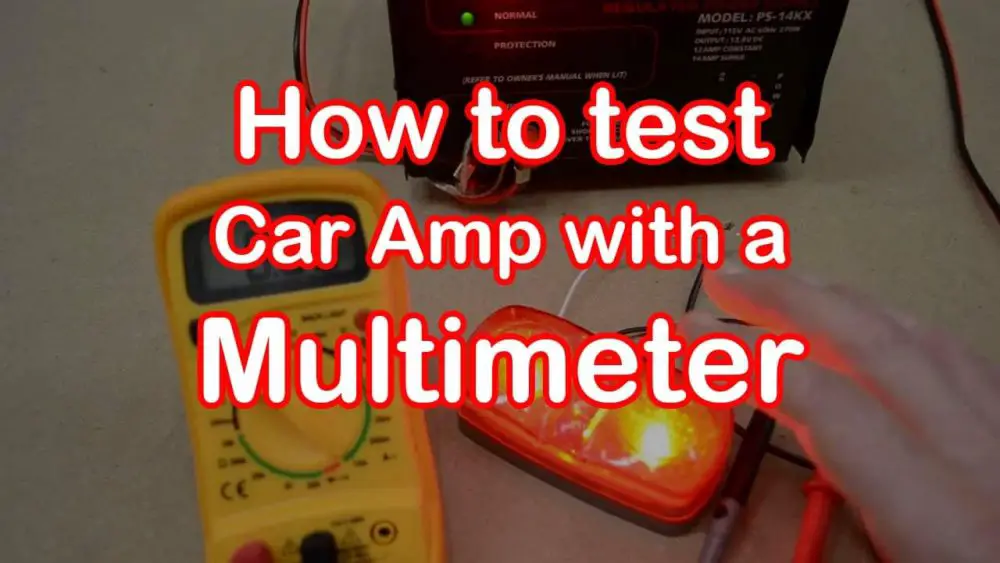
HOW TO TEST A CAR AMPLIFIER WITH A MULTIMETER
Attaining how to test a car amplifier with a multimeter may sound like a complicated task. However, having the right appliances can save you lots of nuisance, as well as time and money. Furthermore, it describes a routine operation, especially if you have all the tools at hand before you start; however, a few key factors to consider.
- How to test a Car Amplifier with a Multimeter?
- What is the perfect time to give up on fixing things and call a mechanic instead?
- Here are the quick answers to all your questions.
You will have to locate the amp or amps, as you might have more than one, then hook the multimeter in and run a test. Different multimeters come with various features, yet their operating principles are the same. Based on the result, you have a diagnostic that allows you to make a decision. You can perform a simple repair, or you can call your mechanic. However, achieving the test yourself will avoid the extra expenses of professional diagnostics.
Preparations and Testing
Nowadays, automotive stereos are more complicated than ever. If you remember older cars, you can probably remember those single sweet speakers mounted on dashboards. Testing those was a matter of moments. Today, if somehow your eight-speaker audio system fails on you, you better hook yourself with plenty of patience. While the whole task would be pretty frustrating, it is still doable and can save you money.
If the central unit works and lights up, the problem might be associated with external amps. Mind that not all cars rely on amps – Hence, depending on the model and manufacturing year. How do we know? Check the manual. If this is not the case, testing the amp will tell you it will get enough power. It will not let the music play to speakers if it does not, which is a significant problem.
Table of Contents
How to set a multimeter to test an Amplifier?
Configuring the multimeter is not so difficult, even if you are new to this job. The black probe must go into the COM socket (common port). The red one goes in the Amperage socket (labelled A). So you might find two different sockets – one is sensitive, while the other one is high amperage. If you are not sure which one to try, use the socket with the highest rating.
Turn the rotator dial of the multimeter to the amperage setting near the socket. There is a slight chance these settings look different, yet, they imply the same thing. For example, you might find A and mA settings on both the amp and multimeter, but you may also see just one A selector on the dial. If you feel confused, double-check the manual.
Testing the Amplifier
- The first step to the process is finding the amplifier location. It might be somewhere – in the boot, under the dashboard, or behind one of the seats.
- The Car manual should tell you exactly where to find it. Once you find it, check the wiring diagram. It will tell you which wires we must test, as well as what properties they have.
- If your car amplifier has more than one plug, you will need to see the wiring diagram again and identify the main connection.
- The plug is usually marked 12V+. It might be hot at all times or only when you run the car. Turn the key to ignition to figure this out.
- If the system is still not working, you will need to trace all the wires and look for an exposed wire or a problematic plug; This would be remarkably frustrating and time-consuming.
Tips and Helpful Advice
Turning off the power before the meter is connected is highly endorsed because when the power is on, the current will go through the circuit instantly. Also, the probe lead is tiny and covers a small area, so it might heat up and weld itself to the amp.
Using alligator clip leads is a good idea. The high current could damage the probe due to its small surface. If you attach alligator clip leads, the current is then flowing over a wider area. Therefore, the risk of damage will become less. Remember, the power should be off while you
attach them.
Troubleshooting Tips
If you think everything is connected correctly but the amplifier does not work, here are some tips and advice to track the problem.
1. Is your amplifier mounted to a non-conductive surface?
A problem is likely to occur if the amplifier case touches the car’s metal directly or through the screws; this puts the amp in Protection Mode, and it may not turn on at all sometimes. Therefore, you should ensure it is not touching any conductive surface in the vehicle.
2. Is the amplifier getting the right power and ground? (12v from battery and Ground from Chassis)
The amplifier demands a positive power input and a negative power output. This is because the power must get in and out of the amp for its proper functioning.
You will get no output if the wiring is incorrect or too small for the amp, the connection is loose, or the fuse is out. You may check the amp’s fuse to ensure it is not blown out and in good condition.
Instead of relying on it to see it, test it with a multimeter after removing it. It should show zero ohms. Also, you can use a voltmeter to check the voltage between the amp’s terminals.
You should see about 12 volts when the engine is off and above 14 volts when running. If you find that the amp does not receive power, check the ground and power wire connections as they might be loose.
A quick tip:
Use your car’s battery to reference how much power your amplifier should be getting when you test it. For example, if I see 12V at the battery, I should see 12V at the amplifier.
3. Does the amplifier receive an input signal? (Sound coming from stereo)
Music input is provided either through high-level speaker input or low-level RCA jacks. Mostly the head units have at least one pair of RCA outputs. Also, check these connections to see the amp’s gain.
Turn on the head unit, adjust the volume to half the gain control, and see if you hear any sound. If yes, keep changing the gain of the amplifier. If it does not, see if the amplifier has a problem with the signal.
4. Does the amplifier output a signal? (sound coming from speakers)
To test this, you need to check the amp’s output by disconnecting the speaker’s wiring. Using a good test speaker, you can connect it to one channel at a time. If the speakers work, you can identify something wrong with the speaker wiring, functioning or a bad connection.
If you see that the amplifier turns on, but the test speaker shows no output, the problem should be the amp itself since you have checked the input signal and power.
Frequently Asked Questions
First, you check the fuse with the battery, as well as both sides. You cannot perform this operation by looking. Sometimes, fuses are bad but do not blow out. You might have to change a fuse, check the remote wire or check the voltage at the amp terminal with the help of a multimeter.
Make sure to disconnect everything and turn the amp back on. If it still goes into protect mode, then it has a problem. If it does not, then reconnect your speakers. Going back into Protect Mode means the problem is with the speakers. It might be the wiring as well, so check the wiring.
Conclusion
Here in this article, I have described the proper way of testing by which any of you can test your car amplifier very quickly. But before going to test, first, you must have adequate awareness about the multimeter by which you are going to try your car amplifier. In addition to this, we have also learned to check the wiring system and protective mode of an amplifier. Finally, we also describe the grounding and speaker check of the music system of a car. I hope you will find this article more helpful.


