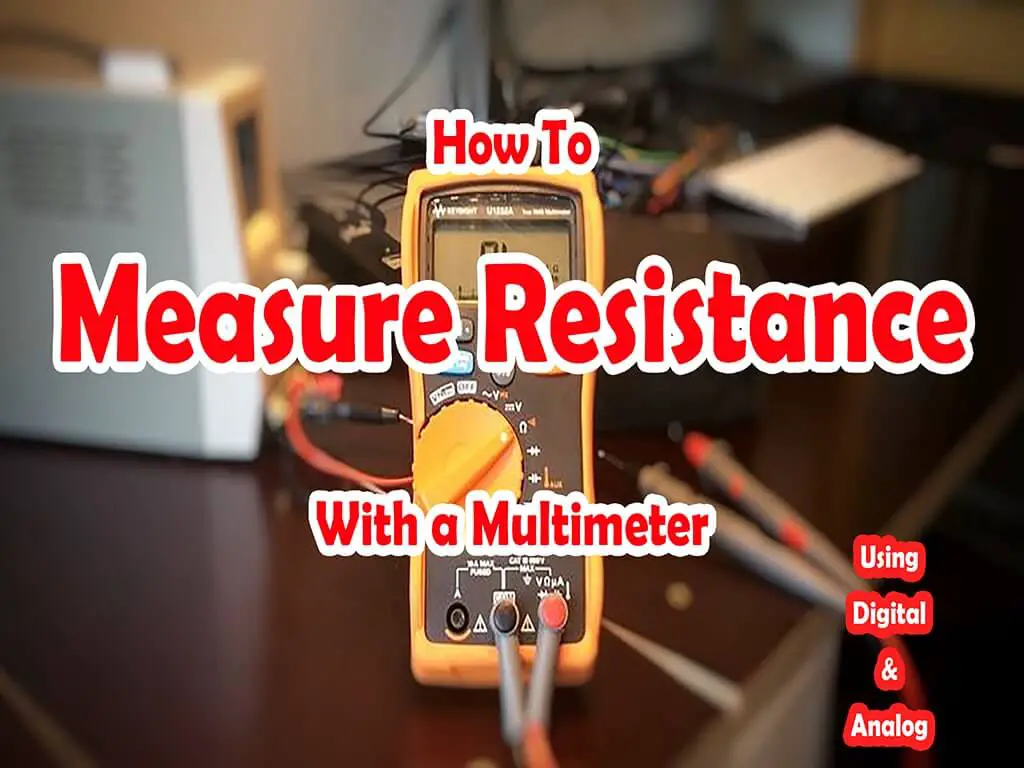
How To Measure Resistance With A Multimeter?
Measuring the internal condition of the electrical circuit is necessary for flawless functioning. Resistance acts as the right hand to highlight the internal condition. Therefore, a large variety of instruments are available in the market to measure resistance.
One very famous tool for the same purpose is a multimeter. Here comes the question in everyone’s mind that how to measure resistance with a multimeter or How to Measure Ohms with a Multimeter. You are not the one that is in search of this query. A large population of multimeter users needs a quick answer to this question.
In addition to this, a multimeter is very easy on the pocket unit that can be purchased or used by anybody to check the resistance. Moreover, it allows you to check the amperage and voltage as well. You can check the trouble electrons that can be passing through any object.
Furthermore, there are many other things that you can measure through the best multimeter, but here our main subject is resistance.
Here we will guide you on how to measure resistance with a multimeter in detail.

Fundamentals for resistance measurement
All the resistance measuring devices use the same strategy to calculate resistance. Whether it is a digital meter or an analog one, the basic idea is the same. Precisely speaking, at the probes, voltage is placed. As a result, equal current passes through the unit whose resistance is required to calculate.
So, by calculating the voltage, the resistance can be measured easily between two probes.
Now, we would discuss how to measure resistance in digital and analog multimeters.
Resistance Calculation With A Digital Multimeter
Calculating the resistance with a digital multimeter is quite simple than an analog device. The user can go for direct resistance measurement. Some quick steps are discussed here to measure the resistance with the help of a multimeter.
- Pick the component whose resistance you want to be measured.
- In the very next step, fix the probes of the digital multimeter in the relevant socket. A digital multimeter is equipped with multiple sockets so, ensure the correct socket. The probe terminals are tagged with COM for common and OHM for resistance.
- Now, you can turn the multimeter on and adjust the required range. Try to select the range that turned out to be an accurate reading. Typically, the company labels the resistance button with the maximum value that can be measured. You are required to set the one that comes with a resistance value below or close to that maximum value.
- In this step, place the probes to the element whose resistance is required to calculate. You can apply the range at this time.
- Once you got the readings, give the multimeter a favor and turn the device off to save. Rotate the function switch toward the highest voltage range before switching off. This strategy would save the unit from being destroyed, in the case of the next reading.
Digital multimeters come with accurate and fast results, and they are cheaper too.
Resistance Calculation With An Analog Multimeter
In the case of resistance, an analog multimeter is also considered good. They quickly reply to the flowing current through the element passing through the test. A worth noting fact is that a high level of resistance pushes the needle to the left side of the analog dial.
On the opposite face, a low value of resistance diverts the needle to the right side of the dial. Here applies the principle, where resistance gets high, the current turns lower.
Moreover, higher resistance pushes the calibrations closer to each other. Before the measurement, providing the full-scale deflection is necessary, which is called “zeroed.” This is achieved by attaching the two probes.
To measure the resistance through a multimeter, you should have to follow the following easy and simple steps.
- The first step is you have to select the component for which you need to measure the resistance and guess the expected resistance.
- A typical multimeter comes with a large number of sockets. Put the probe in the correct socket. The relevant socket is tagged with COM for standard, or there might be an ohm sign (Ω).
- Turn the unit on and pick the desired range. Try to pick the range that turned out into accurate reading. Typically, the maximum capacity of resistance is printed on the multimeter. The estimated value should be closer to the maximum value, but no exceed at any rate. This precaution is a key strategy to get an accurate value.
- Zero the multimeter. To achieve this task, place the two probes with each other and join them firmly. It would give you a short circuit, and the result would be full-scale deflection or zero ohms. You can repeat this strategy if the range gets altered.
- In this step, you can check the resistance as the multimeter is ready to show it. Apply the probe to the element in question for required results.
- After the measurement, turn the switch to the higher voltage and let it off. In this way, the unit would remain safe if it encounters some unexpected condition for the next reading.
- Analog multimeter also provides the accurate result with good performance. It is a good piece of equipment to measure resistance.
Precautions For Measuring Resistance With A Multimeter
To make sure that the multimeter shows the accurate readings and safety of your device, some basic precautions are needed to consider. The most common and the prominent are;
- Avoid the resistance measurement for the element that is connected to the circuit. You can go for the measurements of the component that is not connected to the circuit. Alternatively, all the nearby elements would be adversely affected by the circuit. There is a high chance that you might get inaccurate results in the latter case.
- Sometimes, you have to check the resistance for the element that is already in the circuit. In this case, make sure that the circuit is not powered on. In another case, an invalid current would flow through the circuit. It would produce great voltage. As a result, the device would be destroyed.
- For in-circuit testing, discharging the capacitor is extremely necessary. The charged capacitor has a strong capacity to change the readings before they appear on the multimeter screen. Secondly, discharged circuit my get charged due to the multimeter current. In this case, they would take some time for the readings to get settle.
- In the case of diode containing circuits, the value should be different in reverse order of connection. The basis of their accuracy founds in the fact that single direction current flows in the diode.
- For accurate resistance measurement, hold the test component by the test probe of the multimeter. It would skip the chances for leakage through the figures. In some cases, the resistance way by fingers can be calculated at few megaohms, but the low voltage value provides support at this point.
Table of Contents
Frequently Asked Question:
Zero ohm means that no resistance exists in the component to be tested. Technically, zero ohms do not have any importance as n such value exists.
A short circuit is indicated by the lower value of resistance. It may be 2 ohms or even less. Multimeters come with a detector that produces sound when a short circuit occurs.
Zero continuity means that circuit is perfect. In the presence of zero ohms, there would be perfect continuity in wire, fuse, or battery. It is considered a good reading for continuity.
Typically, zero ohms are good for the ground. No threshold value is considered bad ground. But, experts say that the ground should be 5 ohms or lesser for good working.
An isolated conductor comes with resistance if 1 megaohm or more.
Generally, a healthy wire comes with a resistance of fewer than ten ohms.
Fluke, Amprobe, INNOVA, Klein Tools, Mastech, and AstroAl are some famous names that are producing multimeters.
Conclusion
How to measure resistance with a multimeter has been discussed with some prominent guidelines. We have found that both analog and digital multimeters are good to use for resistance and provide accurate value.
Multimeter calculates not only resistance but also current, voltage, frequency, and more. The process of measurement for the other parameters is different but not challenging.
Less complicated does not mean you can casually go for measurement. The best practice is to consider the essential precautions in consideration.
Furthermore, safety is necessary as you have to deal with dangerous parameters. So, pick the safe unit that comes with advanced features.
Related Posts:
How to test capacitor with the multimeter in circuit


