How to Tune an Amp with a Multimeter?
This article aims to quickly point you in the right direction so that you can tune an amplifier with a multimeter at home. You learn how to measure voltage, resistance, and watts and calculate the gain without relying on help or a local electrician. Only a simple solution with a multimeter, and you don’t need to find an expensive multimeter. A simple multimeter under $50 can solve this problem.
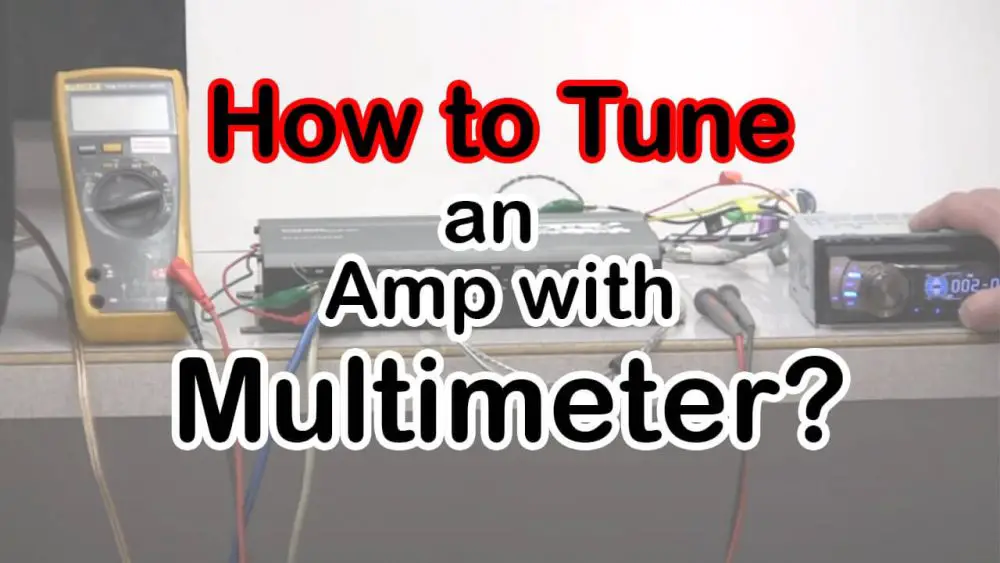
We needed the items and devices to tune the amplifier ready:
1- A multimeter to tune the amplifier.
2- A speaker to connect the amplifier to the test.
3- To see the values, we use the manual amplifier for measurements.
4- A calculator to sum up voltage measurement.
5- To test the amp, we play a CD or audio source up to 60 Hertz.
Step 1: Measure the Resistance of the speaker by using a multimeter
We will connect the digital multimeter to the output terminals of the amplifiers. First, we will cut off the power supply of the speaker. Therefore, you determine the terminals on the speaker for positive and negative connections. Touch the red lead to the positive speaker’s terminal and the black lead tip to the negative terminal. Both the wires should be naked, and the initial reading should be zero. Record the ohms resistance measured in the multimeter. , the maximum resistance of the loudspeakers is 2, 4, 8, or 16 Ohms. So, it is safe to set the multimeter reading closest to the value recorded.
Step 2: Recommended amp’s wattage output
Read the amplifiers manual and note the recommended wattage output. Now compare it with the resistance of your speaker in Ohms recorded earlier.
Step 3: Now increase the head unit’s volume
to more than half of the maximum volume. And find out the maximum stereo volume given in the manual and multiply that number by 75 per cent or more.
Step 4: Disconnect the wires
positive speaker wires from the positive amplifiers terminal. And set all the EQ like bass, loudness, treble, and bass boost settings to zero or turn them off. Rotate the gain counter-clockwise till you get to zero.
Step 5: Calculate the required A/C voltage
Now we will find the target voltage for the amp; this is the output voltage at which we will set the amp’s gain. To calculate it, we will use a variation of Ohm’s Law, V = √(P.R.), where V is the target A/C voltage, P is the Wattage, and R is the Resistance in (Ohm).
According to the manual, if the amplifier is 500 Watts, we have measured the speaker’s resistance with a multimeter is 2 Ohms. So to solve the equation, multiply 500 Watts with 2 Ohms to get 1000. Now use a calculator to find the square root of 1000, and your output voltage is supposed to be 31.62 Volts in case of a one gain control.
Steps 6: Now disconnect the amplifier from the speaker
Disconnect the amplifier from the speaker to accommodate it. First, however, make sure the amplifier is still connecting to a power source. Then, before we further proceed, make sure that the two devices are already disconnected.
Steps 7:Keep a frequency range of 60Hz – 50Hz
Set a frequency range of 60 Hz – 50 Hz, play in a test CD with its Sine wave tone test at 0 dB. The test is verified for a 1000 Hz amplifier and a subwoofer or any minimum-range amplifier. Do the test tone again and again or set the head unit to play the test tone continuously.
Step 8: Make sure to test that you have adjusted every amplifier
Test all the amplifiers in your music system with the best concentration on the VOM. This operation will ensure the speakers will give their best output and they function correctly. First, we will reduce the head unit’s volume unless its reading is zero; you should turn off the amplifier right after that.
Step 9: Reconnect the wirings
Now, take all the wires from the speakers and reconnect them to their positive terminals, respectively. Therefore, make sure all the cables connect to the correct terminals correctly.
This extra precaution enables workers to avoid unnecessary damage. If the wires are wrongly connected, the speakers will not function. Again turn on the head unit and remove the test CD. Play a piece of music that you are familiar with and listen to it for any distortions.
These bends sounds are in the form of:
- Whiffing
- Hissing
- Whomping
- Cracking
- Buzzing
If the music is high and lows seem balanced, but the bass sounds seem to be coming from the far end of the stereo, it is most appropriate to delocalize the amps filter. Delocalization is done by adjusting the low pass filter of the amplifier lower.
If we can fine-tune our filters, it will enable us to smooth the roughness of the sound. In contrast, if the sound vocals are too deep, adjust high pass filters on the amplifier to corporate more high notes. In addition, if the music sounds too low, re-organize your high pass filters to include more low notes
Frequently Asked Questions:
First of all, turn off your subwoofer entirely and unplug the power source. Remove all the audio inputs or any wires to make your subwoofer accessible. Remove the subwoofer from the enclosure. Attach the positive multimeter to the positive terminal of the voice coil of your subwoofer and measure the readings.
Connect each end of the single wire to the positive and negative leads of the multimeter. Thus, if there is an unbroken circuit through the speaker, there will be a continuous beep output from the multimeter, and the meter will not read “OL” will appear on the screen.
Conclusion
The above operation is also applicable to a four-channel amplifier. The four-channel amplifier increases the level of sound and consequently produces magnificent quality music. Despite the design and the type of amplifier you are using, this is another best multimeter feature to tune an amplifier.
Using a digital multimeter for tuning your amplifier is one of the easiest and effective methods, enabling you to set the benefit for almost all amplifiers. If you have the best multimeter with you, we hope this guide helps you tune in to an Amplifier accurately.
Related posts:
How to test the 220 voltage wires


