How to test a Blower Motor with a Multimeter?
The Heating, ventilation and air conditioning (HVAC) system works to keep a home or vehicle comfortable. An HVAC system is essential in keeping your home or car warm or cold in the summer and winter. To ensure proper functioning, an HVAC system must be maintained and tested regularly. Testing a blower motor might be difficult without the proper tools. A multimeter is the best tool for analyzing a blower motor. As it can measure voltage, amperage, and resistance.
A blower motor is an essential component of any HVAC system. If your blower motor isn’t performing properly, it can lead to many issues. You can use this simple guide to test your blower motor using a multimeter and figure out what’s wrong. You’ll be able to resolve the issue and have your HVAC system back up and running in no time!

Table of Contents
Exploring the Different Types of Blower Motors:
There are two types of blower motors Single Speed Motors and Variable Speed Motors.
1. Single Speed Motors:
Single-speed motors provide blow air at a constant speed. Usually low and cannot be changed or controlled, this type of motor is most commonly used in small appliances and gaming devices. Despite their simplicity, single-speed motors provide a consistent flow of air that can be valuable for certain applications.
2. Variable Speed Motors:
Variable speed motors blow air at varying speeds, which is helpful when you need to maintain a comfortable temperature in your home or car. This technology is used in a variety of applications, including cooling fans and air conditioners.
How Does a Blower Motor Work in Your HVAC system?
A thermostat is an important part of your home’s cooling and heating system. It monitors the temperature within your home and provides a signal to your air conditioning systems or heating unit, which adjusts the fan speed or heat output accordingly. The blower motor works together with your home’s cooling and heating system, and a thermostat keeps track of the temperature.
When the temperature outside falls below a certain level, your furnace will start. This is performed by circulating cold or hot air throughout the house. Usually, the thermostat is set to a specific temperature, but if it falls below that level, the furnace will automatically switch on to compensate.
The furnace is one of the most important appliances in a home. It’s responsible for moving cold or hot air produced by the furnace throughout your home, ensuring that the temperature is maintained at the desired level. A blower is essential for keeping this airflow moving.
Variable-speed motors are gaining popularity because they have several advantages over traditional single-speed motors. Variable-speed motors only operate when the thermostat signals them, thus they are less likely to be damaged by unexpected starts. They also run more quietly than traditional motors, which is a key factor in many applications.
3-Signs That It’s Time to Test Your Blower Motor
1. If your vents aren’t blowing air:
If you’re not getting air through your vents when you turn on your air conditioner or heater, it could be due to a faulty blower motor. There will be no air circulation if your blower motor fails, thus testing is essential to diagnose the problem. If you notice that your air conditioning or heating system isn’t cooling or heating, it’s time to fix it.
2. If your vents don’t seem to be receiving enough air:
If you detect low or reduced airflow in your vents, your blower motor may be damaged. A faulty or broken blower motor cannot generate enough airflow to maintain a suitable temperature in your home, leading to humidity and reduced air circulation. Replace your blower motor as soon as possible if you feel it is failed to maintain the proper air circulation and home cooling.
3. The speed of the fan has been reduced:
If your blower motor only operates at one speed, the motor may be faulty, it may not be able to manage various temperatures or airflow levels efficiently. If the motor only has one speed, it should be replaced.
You Can Test Your Blower Motor Using This Tool:
Multimeter:
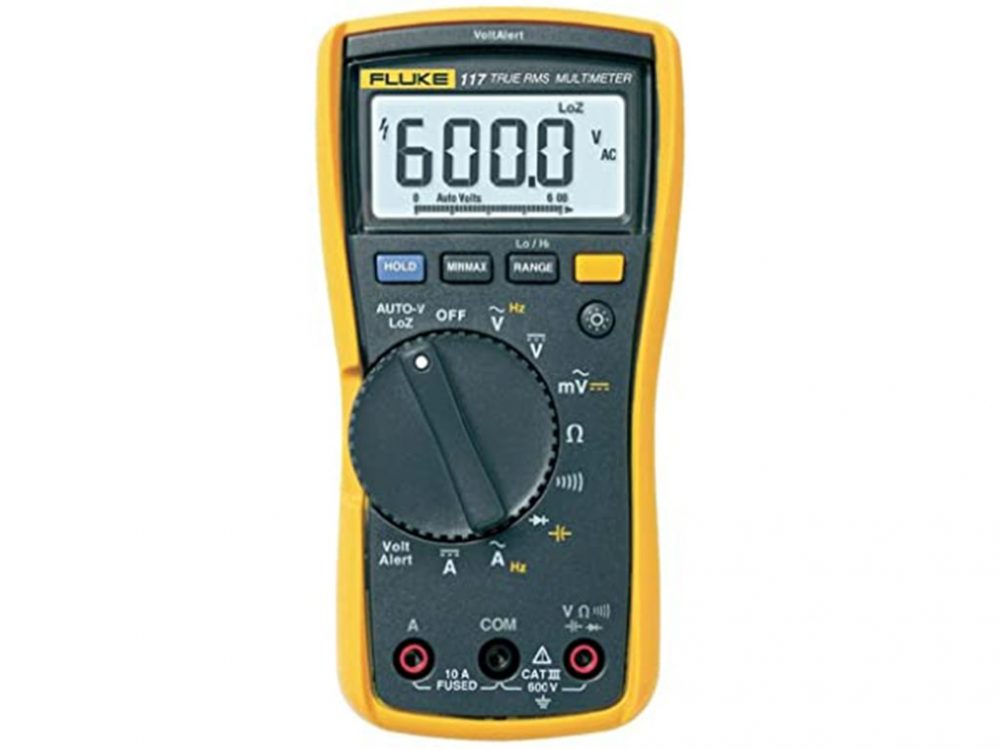
The most common tool is a multimeter. It can test almost everything that has an electrical connection, including your blower motor. You can check if the motor is working properly by checking the voltage and current. A multimeter can also be used to test for shorts and continuity.
How to test a blower motor using a multimeter?
Don’t start testing your blower motor until you read this!
1. Check The Power Status:
The first thing you should do if your electrical equipment stops working is to check sure it’s getting power from somewhere.
2. Checking For Blower Motor Status:
There are a couple of different ways to check if your blower motor is shorted. One is to remove the cover panels and look for debris in the motor. If there is, your motor may be shorted and needs to be replaced. However, if the covers are still on the unit and the motor doesn’t turn when you apply power, then you likely have a bad wire or connection somewhere in the system and will need to replace the entire blower assembly.
Learn how to test your car’s blower motor:
The blower motor in your car is usually located behind your vehicle’s glove compartment. Disconnecting the positive and negative power supply is the first thing to do if your car’s blower won’t turn on.
A normally wired black wire is usually negative, but to test this with your multimeter (Ohm scale), take the positive lead of the multimeter. The meter should read 0 volts when you touch the black wire to the positive lead. If it reads more than 0 volts, there may be a problem with the wiring.
Follow These steps:
- To start your car, turn on the ignition key. Once the car has started, you can test the blower motor by turning on the fan switch. There is a purple wire that supplies power to the blower motor. To check the current, use a multimeter to measure the voltage between this wire and the ground. The voltage should be at least 12 volts.
- If you set your multimeter to DC power and turn either your heater or air conditioner to maximum power, you can measure the current that is flowing through your device, if your multimeter reads no current. then your blower motor is defective.
- If the current is detected in the multimeter then the blower motor should be thoroughly tested.
- Remove the fuse panel access cover from the footwell, which is located next to the passenger’s side.
- Removing your car blower motor relay will now allow you to test the current pin on the relay against the ground. If the current pin is not grounding to the multimeter’s DC scale.
- It’s a small black box with two connectors. Remove the cover panel and connect one lead of the multimeter to the positive side of your battery and the other lead to one of the connectors on the relay. Turn on the ignition and switch to high speed. The meter should read about 12 volts. If it doesn’t, the relay is bad and needs to be replaced.
- If your car has a working fuse, but the connector is bad, you might be able to fix it yourself. With your car’s ignition on the run, using a multimeter on the DC scale, test the connector. If the fuse is good, then you’ll need to replace the connector. Be careful not to short out any wires while you’re working!
- If everything does not work, then you need to replace the relay. The relay is responsible for sending power from the battery to the blower motor, so replacing it may be the only way to get your car s heating and cooling system up and running again.
Conclusion:
In conclusion, This article explained to you step-by-step guidance on how to test a blower motor with a multimeter. You may save time and money in the long run by identifying problems before they become expensive repairs.


